Last year, I finally entered the wild world of having a dashcam in my car. It was a pretty significant change of pace for me, as someone whose main notion of dashcams came from watching YouTube compilations of crazy crashes captured by them. Besides, my car is a relatively old beater — what could there be to protect? Well, as it turns out, my peace of mind.
Last year, 70mai sent me its new 4K A810 dashcam to try out. I really wanted to put it through its paces before writing about it, and then a series of somewhat minor problems pushed everything back, then the holidays happened, and the next thing I knew, it was 2024. I’ll get into those problems in a little bit. First, however, I want to talk specs.
The A810 sports Sony’s Starvis 2 IMX678 sensor and support for HDR, allowing the dashcam to offer boosted night recording, higher clarity, better colour accuracy and more balanced exposure. It can also record at up to 60fps for better capturing of fast motion. Unfortunately, the A810 only supports 60fps recording at 1080p resolution, not at 4K. The A810 sports a 150-degree field of view and has a f/1.8 aperture. Additionally, users can pair the A810 with a rear or interior camera — 70mai says the A810 works with a 1080p HDR rear camera or a 1080p IR interior camera.
Please excuse my horribly dirty windshield.
The A810 supports several other features, including some AI capabilities. There’s an AI motion detection feature that can activate recording if it detects someone is too close to the car. There’s a smart parking mode as well that 70mai claims can detect hits and collisions caused by other vehicles. That could potentially mean the camera will capture evidence the next time someone dings your car with their door in a tight parking lot. The dashcam has GPS features too, like real-time trip data (including speed, time, and coordinates, which can be helpful information when filing with insurance or the police) and route tracking. Most of these require the 70mai app as well, which we’ll cover more in a bit.
Much to my surprise, the A810 also supports some advanced driver assistance systems (ADAS). That doesn’t mean it’ll drive your car for you, but it can provide alerts if it detects certain things, such as lane departure, forward collision, moving traffic, or pedestrian collision.
Needless to say, the A810 is jampacked with features that go above and beyond simple video recording to capture incidents on the road. And while these benefits are certainly welcome, there’s an argument to be made for simplicity here — at times, I found actually using the A810 to be cumbersome and confusing.
Installation: surprisingly easy or deceptively difficult
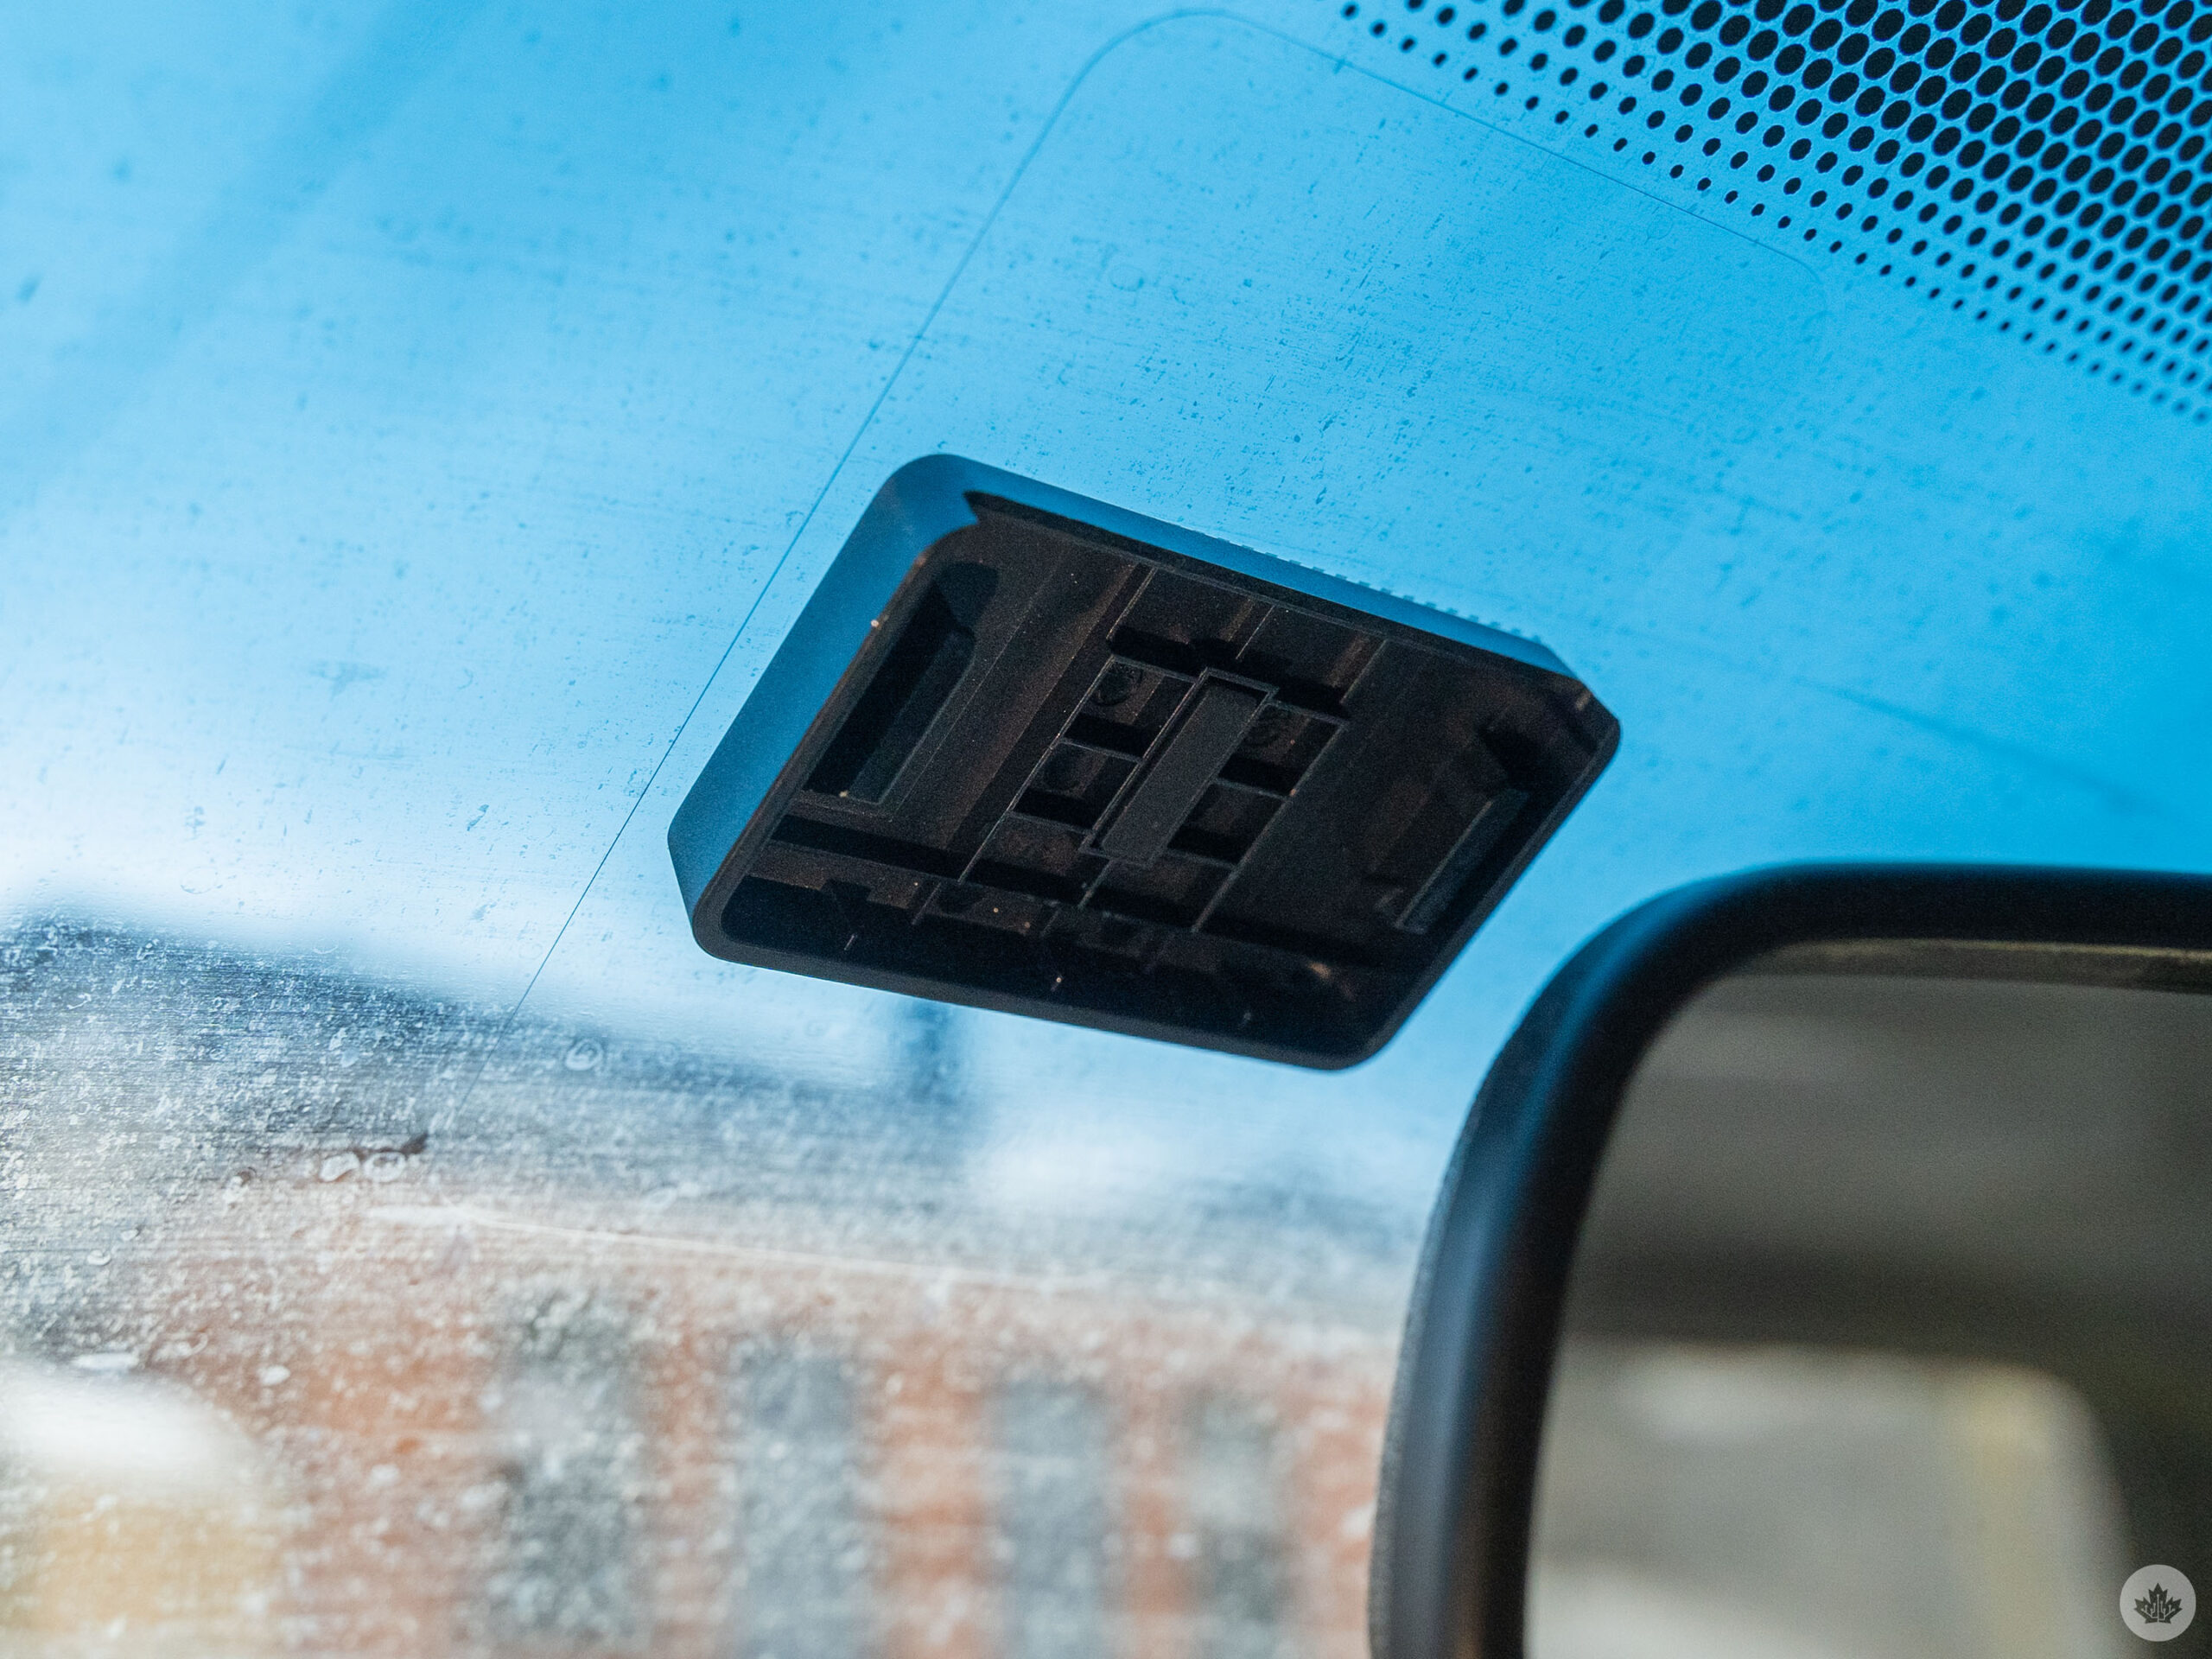
The A810’s mount sticks to an electrostatic sticker, and the dashcam easily slides into the mount.
Before you do anything else with the A810, you’ll need to install it in your vehicle. The installation process can be really simple or quite difficult, depending on how you want to tackle it and whether you’re using an additional camera. There are two main things to tackle with installation — mounting the camera and getting power to it.
Mounting the camera is relatively straightforward. You just need to use the included clear, electrostatic sticker and place it on your windshield where you want to mount the dashcam. Then, peel the protective plastic off the camera’s base and stick it to the electrostatic sticker. The only real downside is you get one chance to do it, so make sure you take your time and line it up right because you won’t get a second chance at it (I learned this the hard way when I accidentally mounted the rear camera upside down). The mount itself is surprisingly sturdy and, honestly, I’m not sure I could peel it back off my window without some serious effort (and maybe some tools).
Getting power to the camera can be a more complicated matter. The A810 comes with a car charger that plugs into the auxiliary power outlet. Handily, the charger has two USB-A ports, but you only need one for the camera. That means you can use the other as a phone charger.
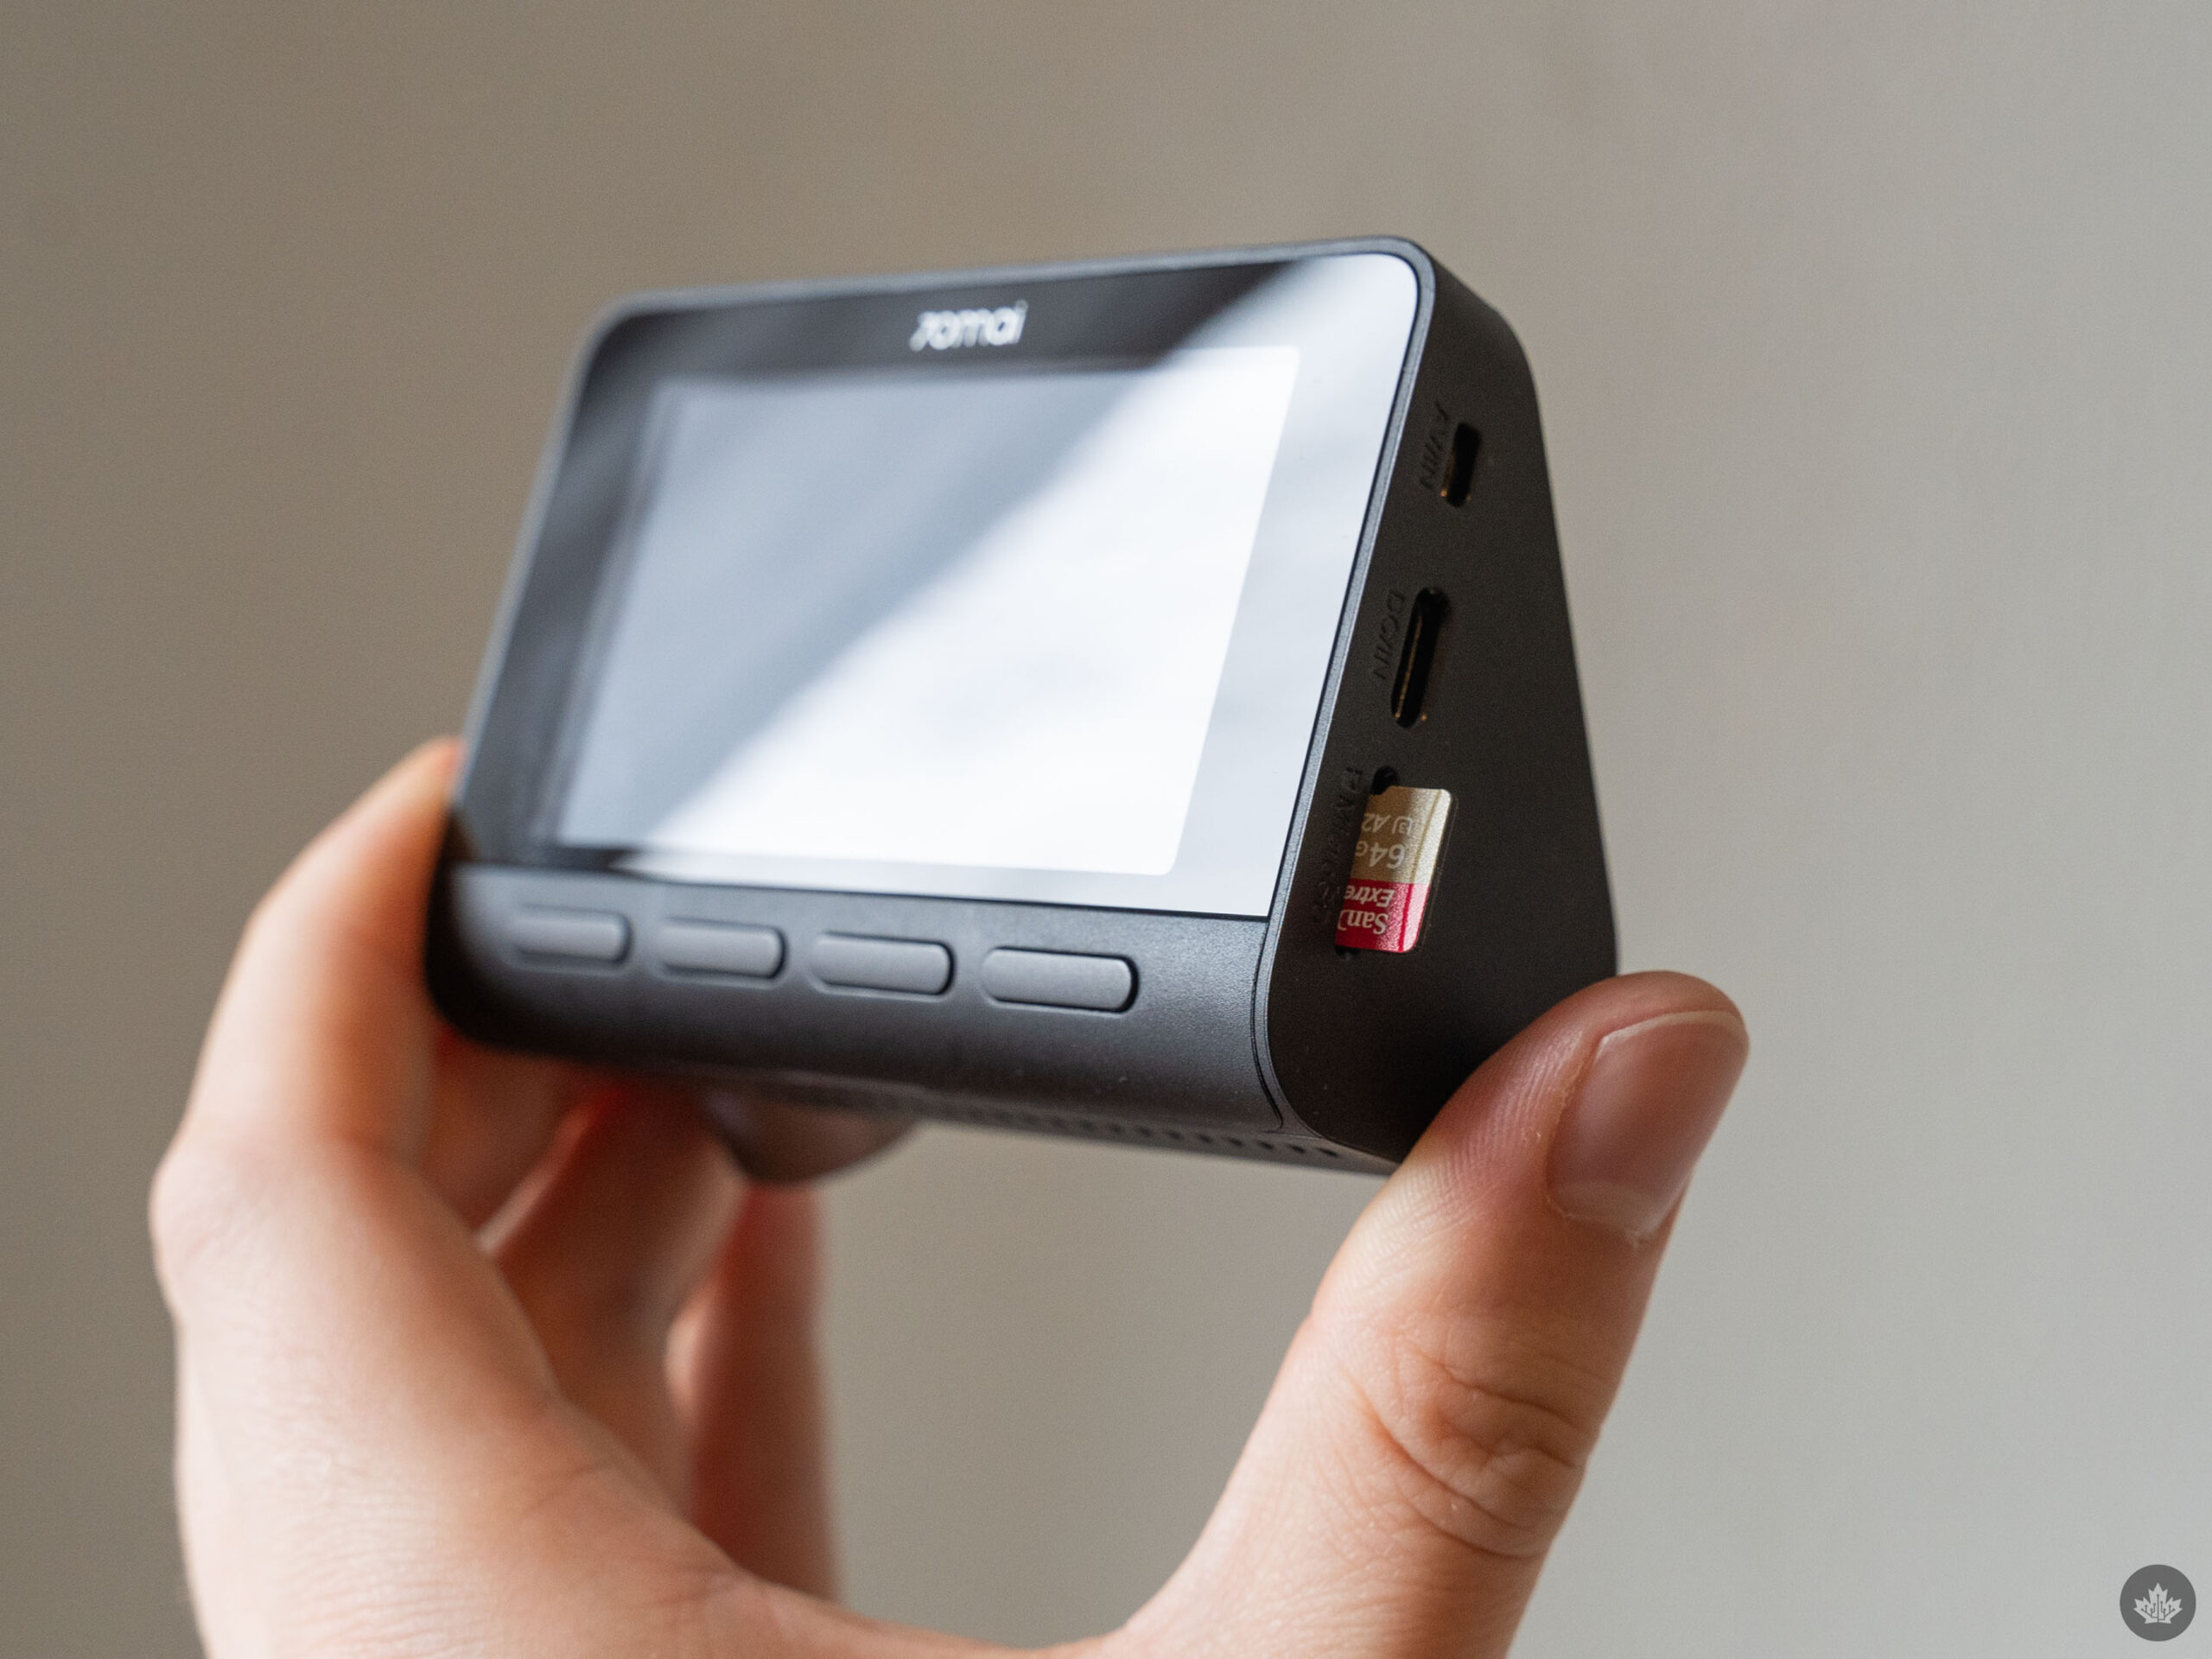
Alternatively, you can fork out a little extra for a hardwire kit and connect the A810 directly to your vehicle’s fuse box. This is a necessary step for some features, such as the motion detection capabilities, since hardwiring allows the A810 to draw power even when your vehicle is off. I initially wanted to go this route when testing the A810 with my vehicle since it appeared relatively straightforward. It seemed like I just needed to locate my vehicle’s fuse box, run the cables, and plug them in. Boy, was I wrong.
After reading various online guides and watching videos, looking at electrical schematics for my car, buying a fuse tap kit from Amazon since the hardwire kit provided by 70mai didn’t have the necessary fuse taps to actually connect to my vehicle (or any vehicle for that matter) and consulting with my electrician father, I concluded that hardwiring was best left to a professional. So, I went with the auxiliary power outlet for my A810 since I didn’t want to spend the money on a professional installation. Aside from a handful of features I couldn’t use, like the parking detection, I didn’t really feel like I lost out much by using the auxiliary power outlet over hardwiring.
At this point, I would strongly advise that anyone considering purchasing a dashcam, the A810 or otherwise, do their research ahead of time. It’s worth taking the time to figure out how you want to install the dashcam and then picking dashcam hardware accordingly — there’s no sense paying a premium for a camera like the A810 if you’re not going to hardwire it and get full access to all the features.
Another installation quibble to take note of is you’ll need to run cables. There will be at least one cable to power the dashcam itself, whether it’s running to the vehicle’s fuse box or to an auxiliary power outlet. If you want to connect a secondary camera, you’ll need to run a cable from the main dashcam to it as well. I ran into an issue with this as the cable I had for my secondary rear camera wasn’t quite long enough for my vehicle. I’d recommend measuring the path you want to run your cables along and making sure you purchase a kit with the correct length of cable for your vehicle.
Set it and forget it?
Once everything is mounted and plugged in, the A810 can be a relatively set-and-forget experience as long as you’re fine with just the basics. This was largely my experience with the A810, and I was quite happy with it. The camera would turn on when I turned on my car, it’d run while I drove, and it’d turn off when I turned the car off. While on, the camera constantly records clips in one-minute intervals with file sizes, and it regularly overwrites the footage as it goes. I had a 64GB microSD card in my A810, which appears to hold about a week’s worth of driving footage, but there are a variety of factors that can impact that. Depending on how much of a record you want to keep, it might be worth investing in a larger microSD card or recording at a lower resolution (it’s worth noting the A810 doesn’t come with a microSD card, so you need to supply your own). How much driving you do will be a factor as well.
The A810 also handily captures 30-second clips when it detects an ‘event,’ which are stored separately from the regular log of clips. The main way the dashcam appears to detect events is through an accelerometer or similar sensor. The idea seems to be that if you’re in a collision, the impact will trigger the camera to save a 30-second clip that captures the incident. You can also manually activate the event capture by pressing a button on the dashcam.
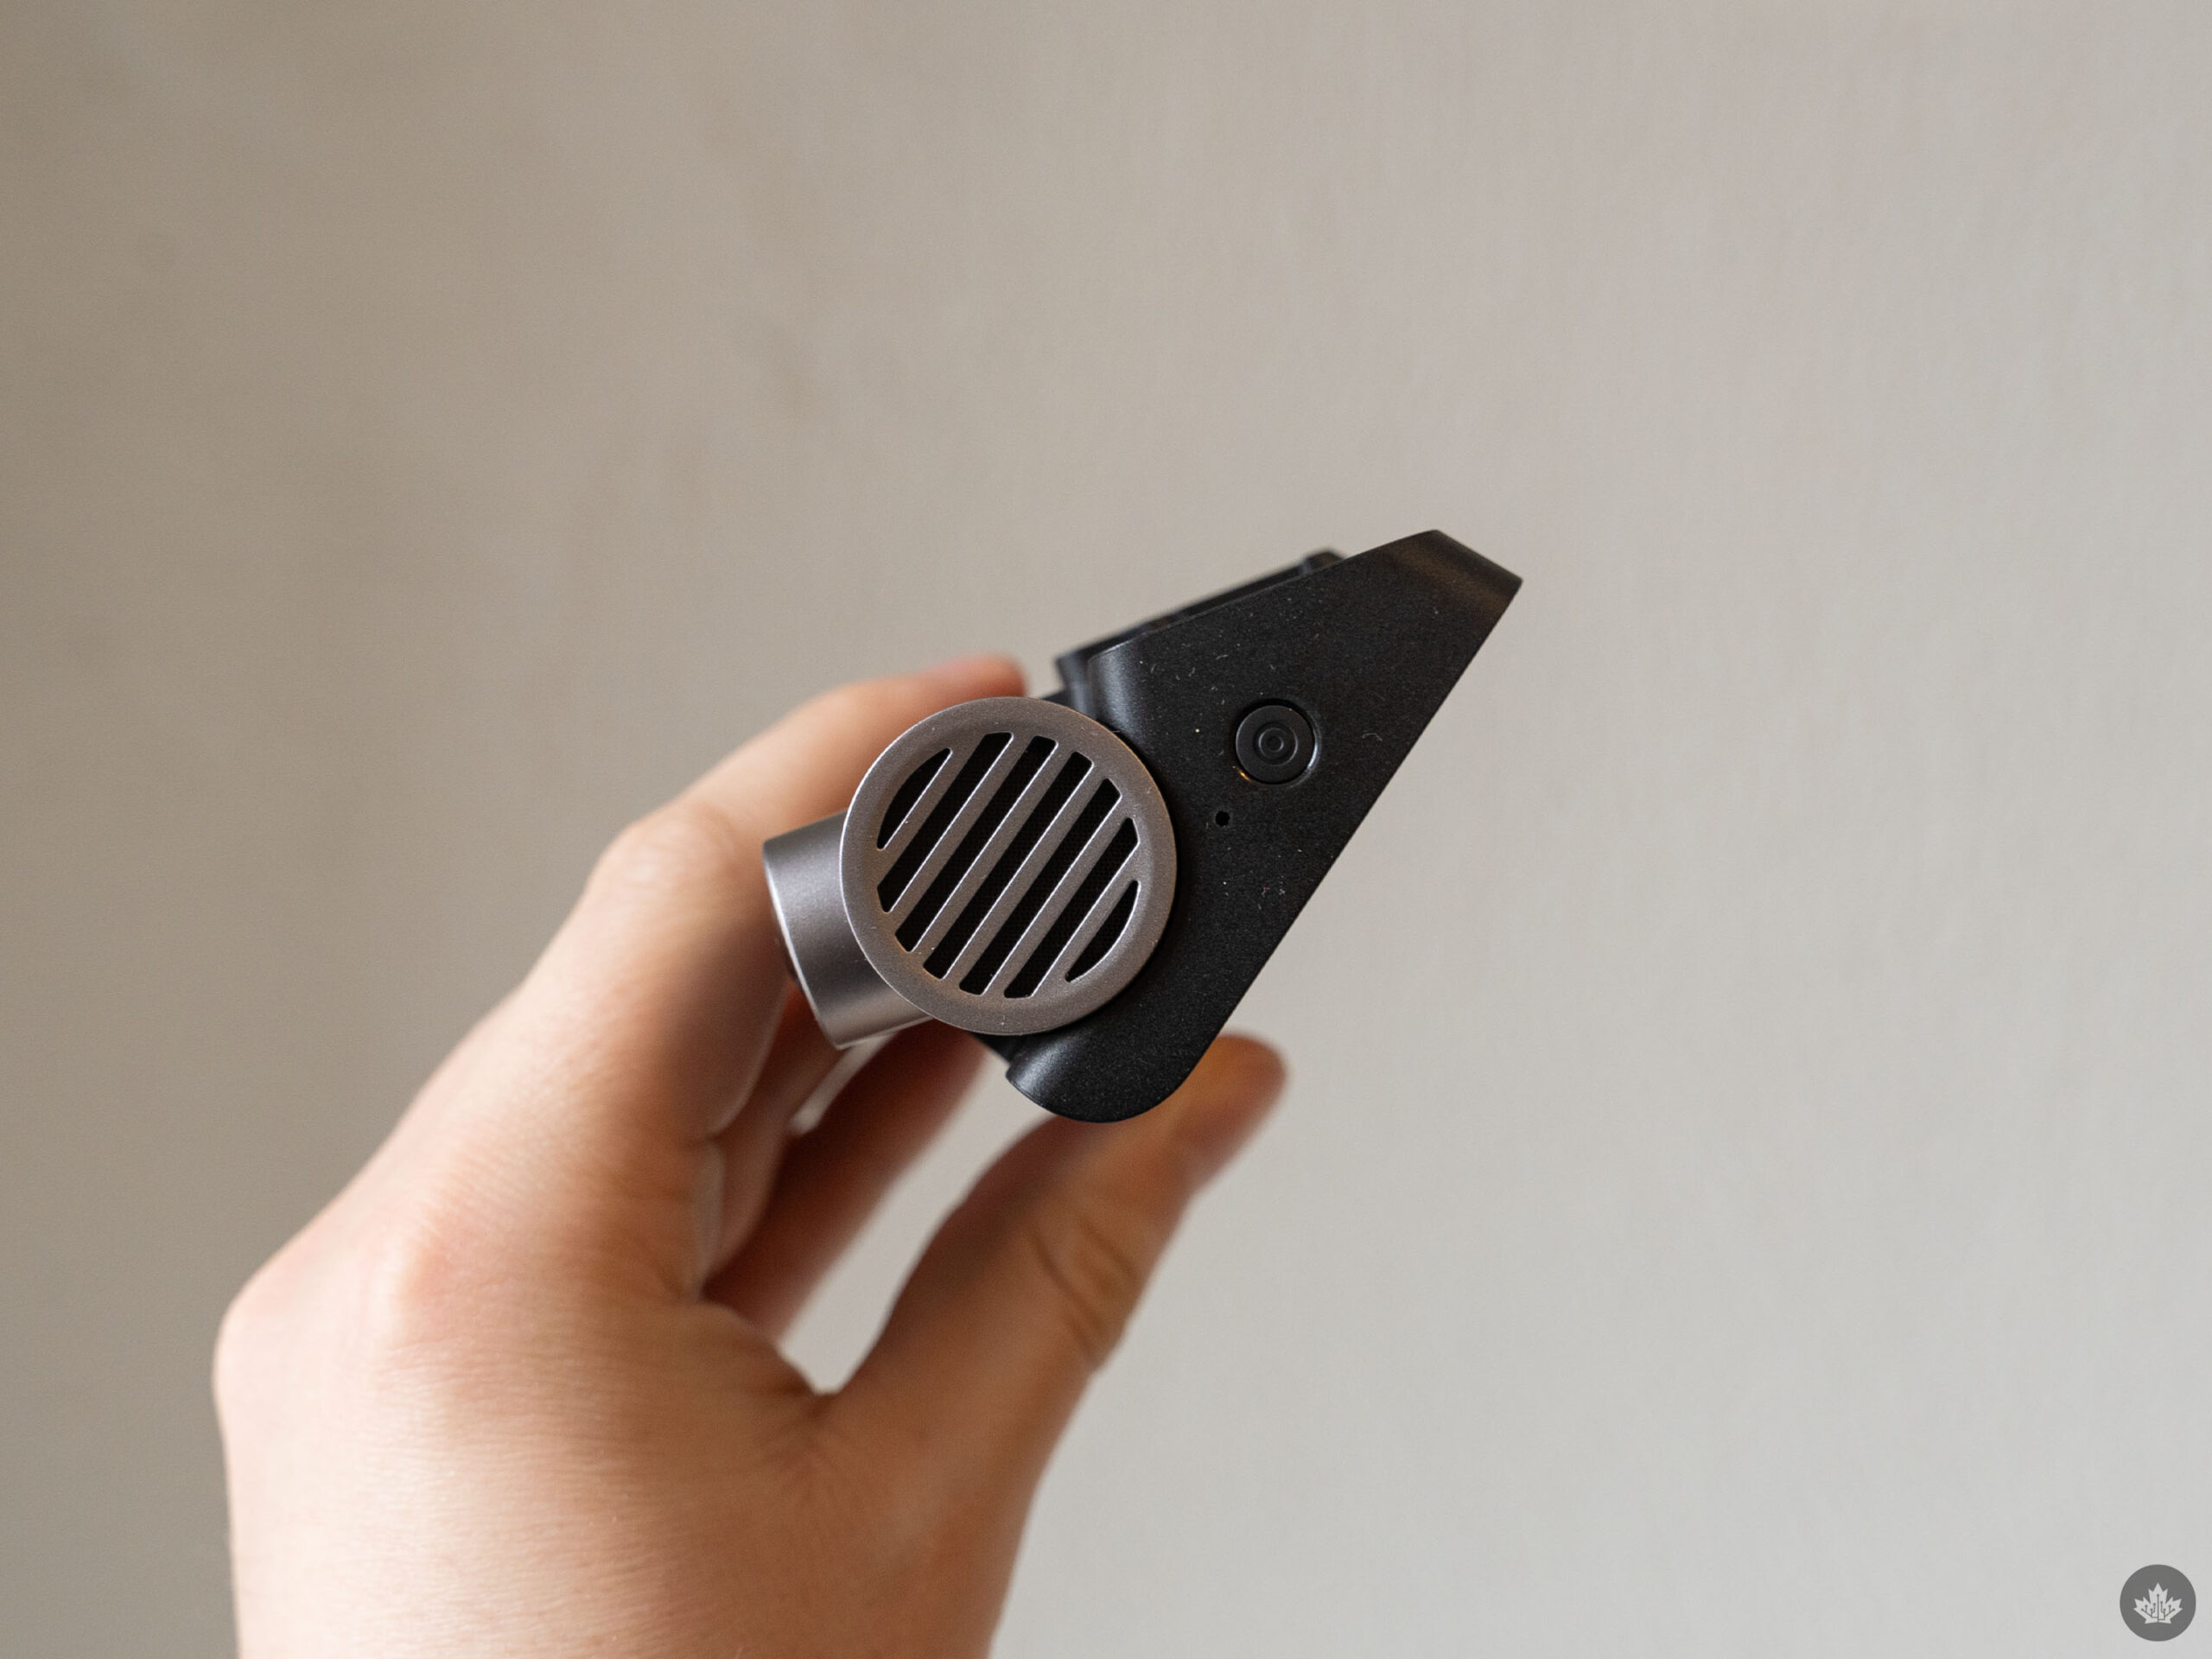
In practice, I found event recordings were easily triggered by rough spots on the road or sometimes even by just turning on my car’s wipers. As such, my dashcam’s event folder is full of clips of me hitting potholes or other rough patches of road or clips captured on rainy days because I had the wipers on. There’s even a clip of me vigorously scraping snow off my window.
In the grand scheme of things, I’d rather have a dashcam that’s too sensitive than one that’s not sensitive enough, and that fails to capture significant events. On the other hand, it gets quite annoying every time something triggers the A810’s event capture mode because it belts out a very loud chime whenever it happens.
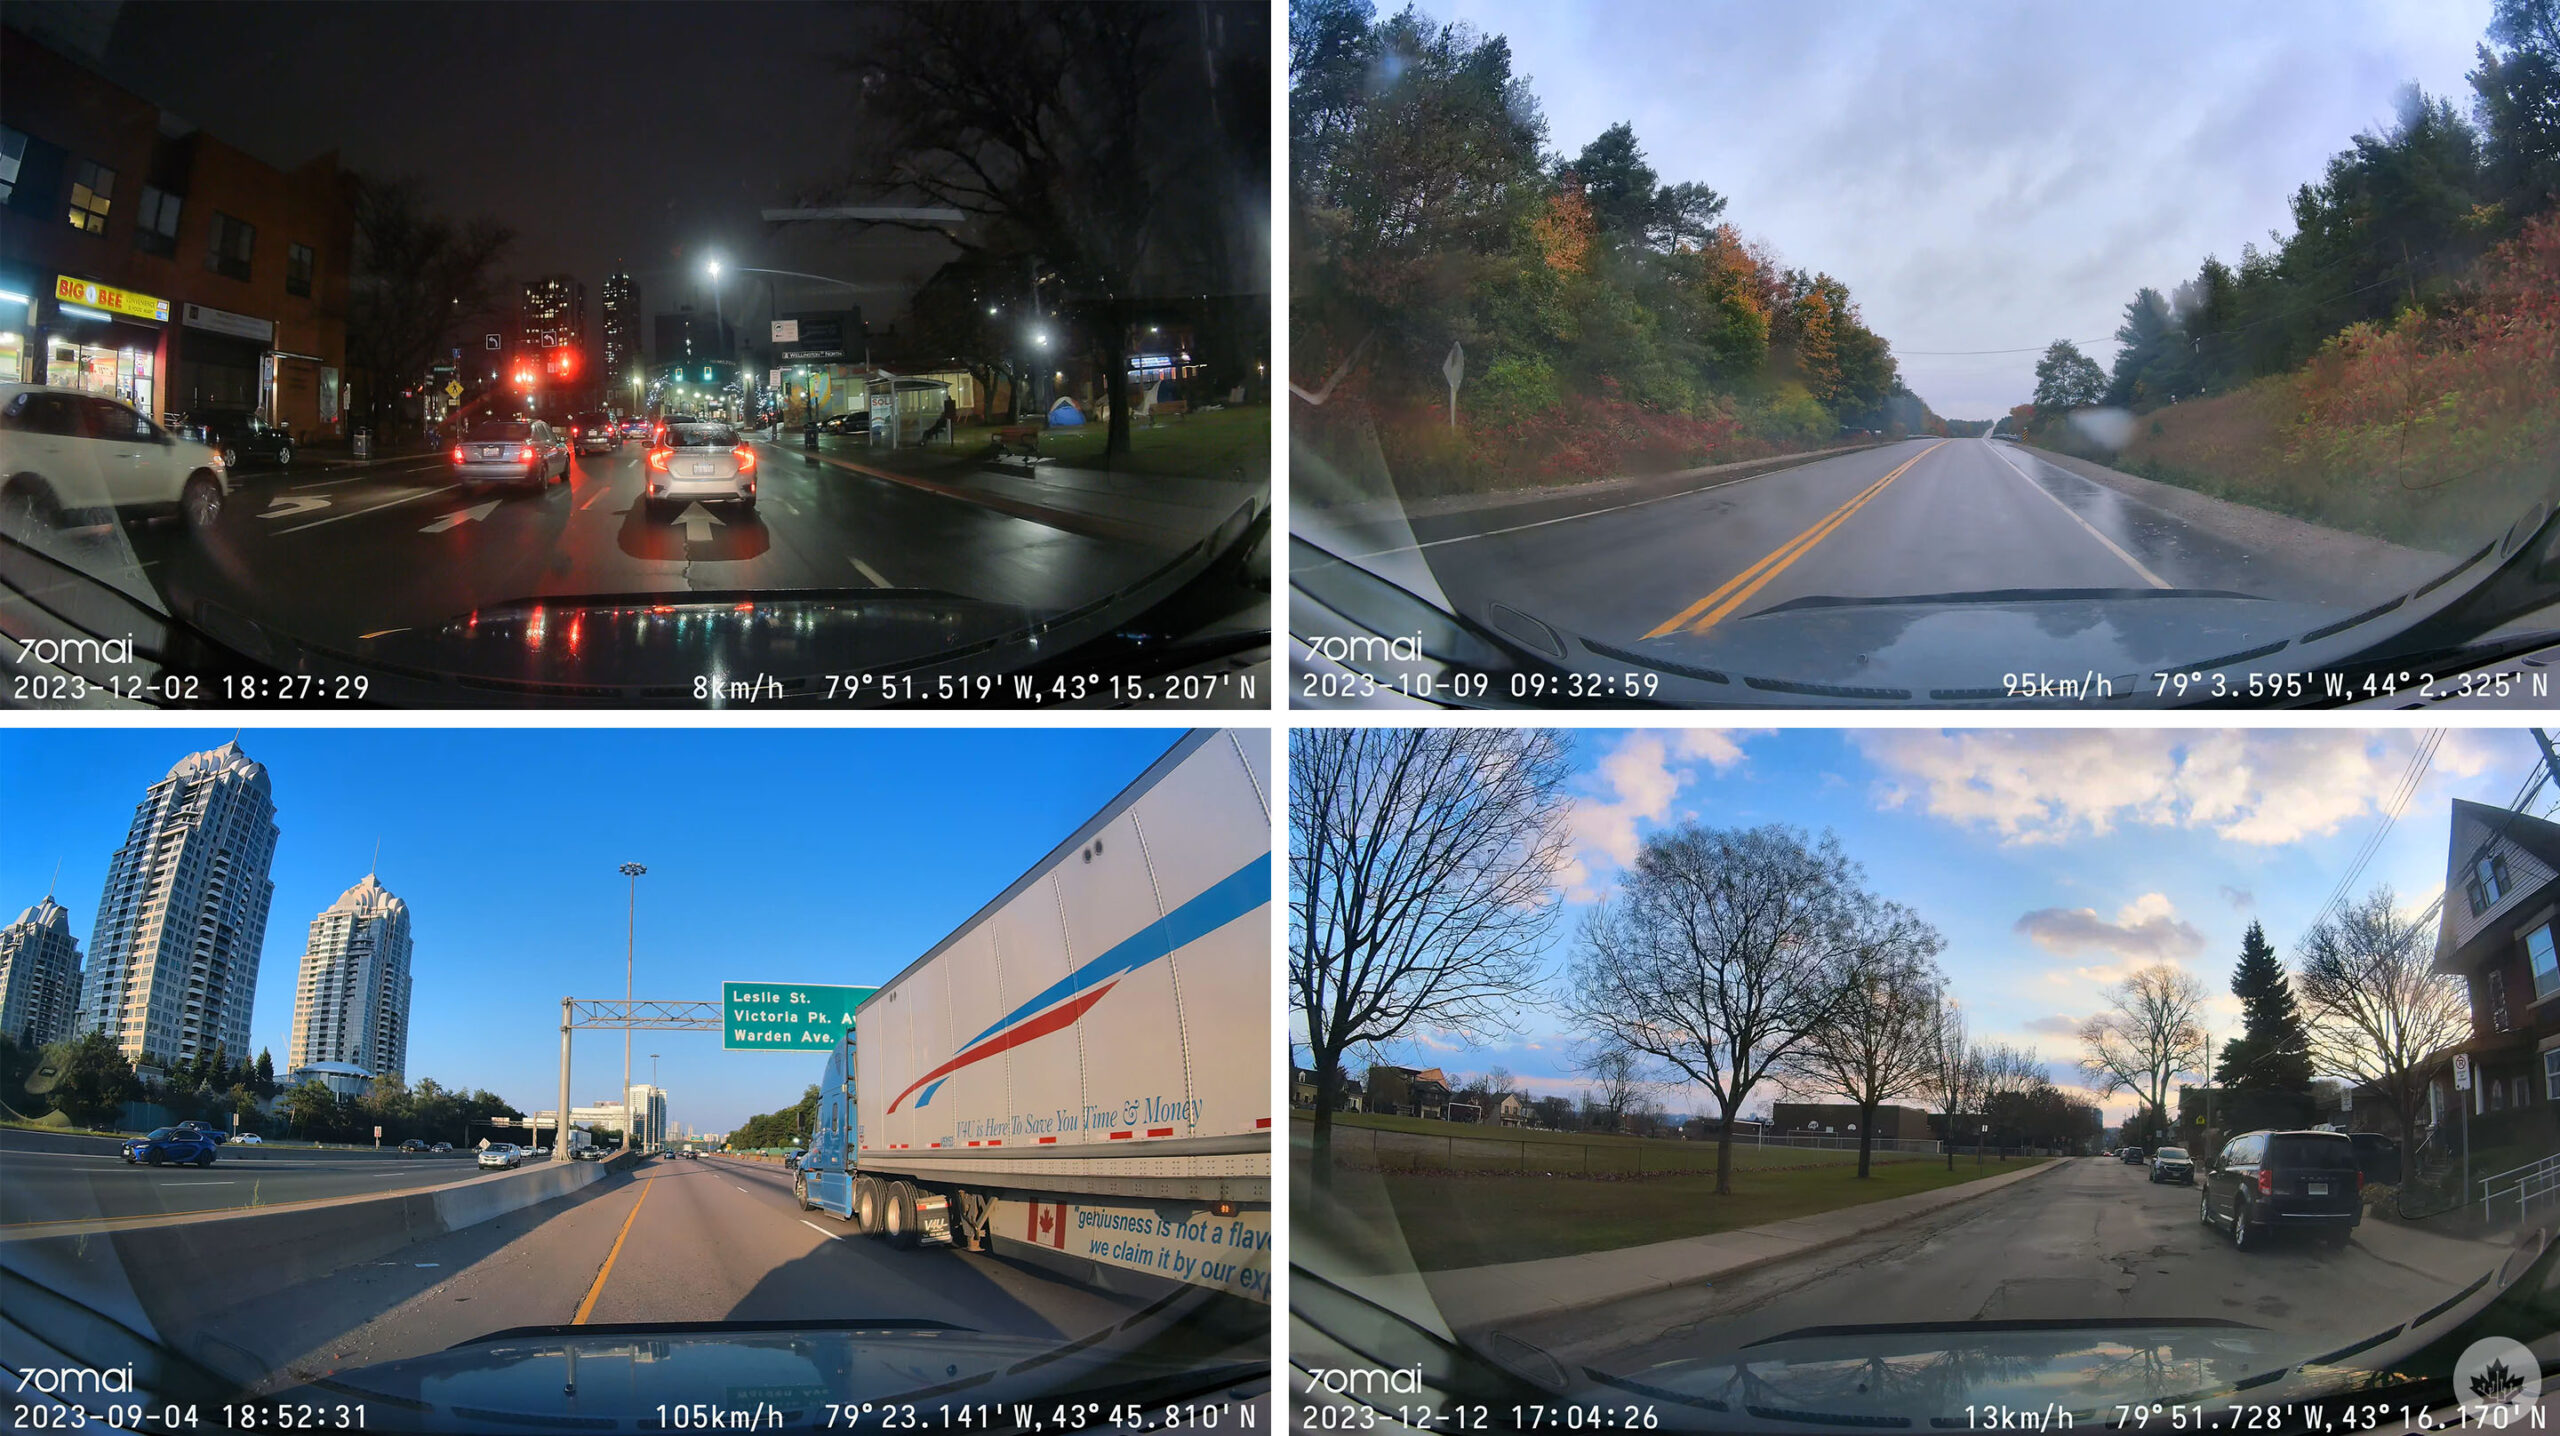
I will also note here that I was generally impressed with the quality of the video captured by the A810.
Not my favourite app
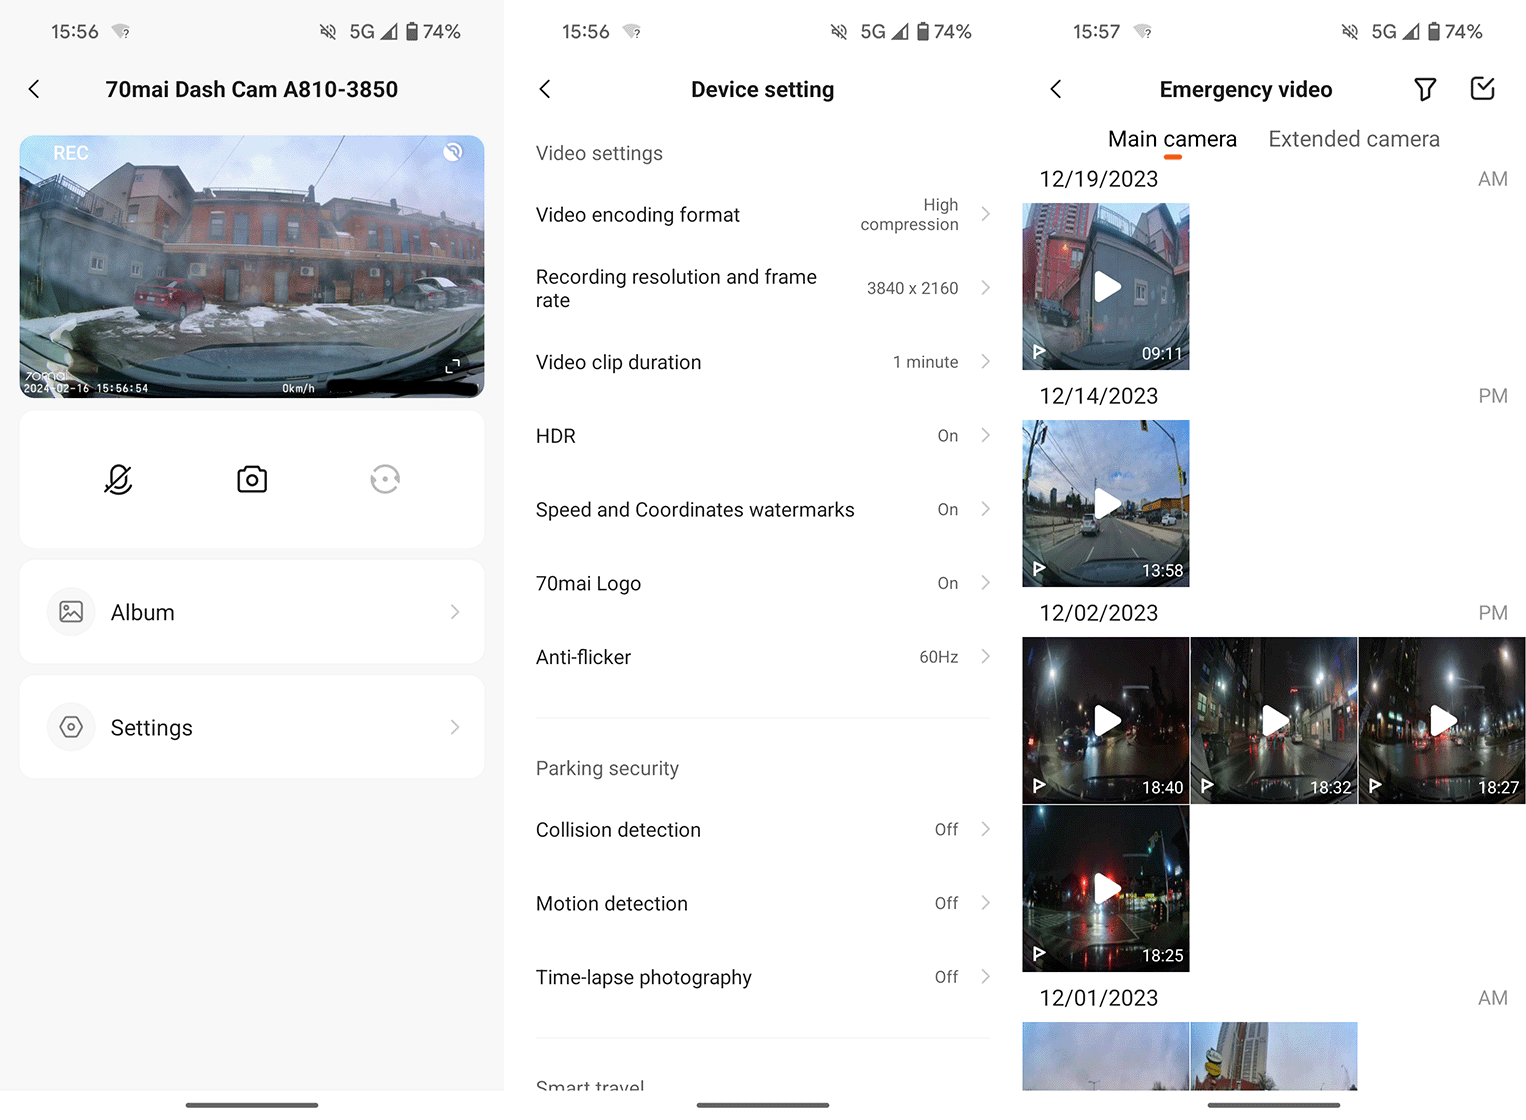
Screenshots of the 70mai app showing (from left to right) the main screen, settings, and video clip library.
Naturally, if you want to get the most out of your A810, you’ll need to download the accompanying 70mai smartphone app. This allows you to connect wirelessly to your dashcam and adjust its settings, enable/disable features, view footage captured by the dashcam and more. (You also absolutely don’t need to use the app and can instead just let the A810 do its thing and pop out the microSD card whenever you want to pull footage off the camera).
I ran into a few issues with 70mai’s app. Right out of the gate, it seemed to not play well with Android’s location settings. The app requested access to the location permission, and when I granted it, it then asked for me to set the location to “Always allow.” However, that permission isn’t available for the 70mai app — instead, on my phone, I could only allow 70mai to use location while the app was in use or make it ask me every time. Further, if I set the app to use ‘approximate location,’ it would keep asking for the location permission. When set to ‘precise location,’ the app seemed to work even though it remained set to only work while the app was in use. I detailed this issue with 70mai, but at the time of writing, it appears the issue hasn’t been addressed.
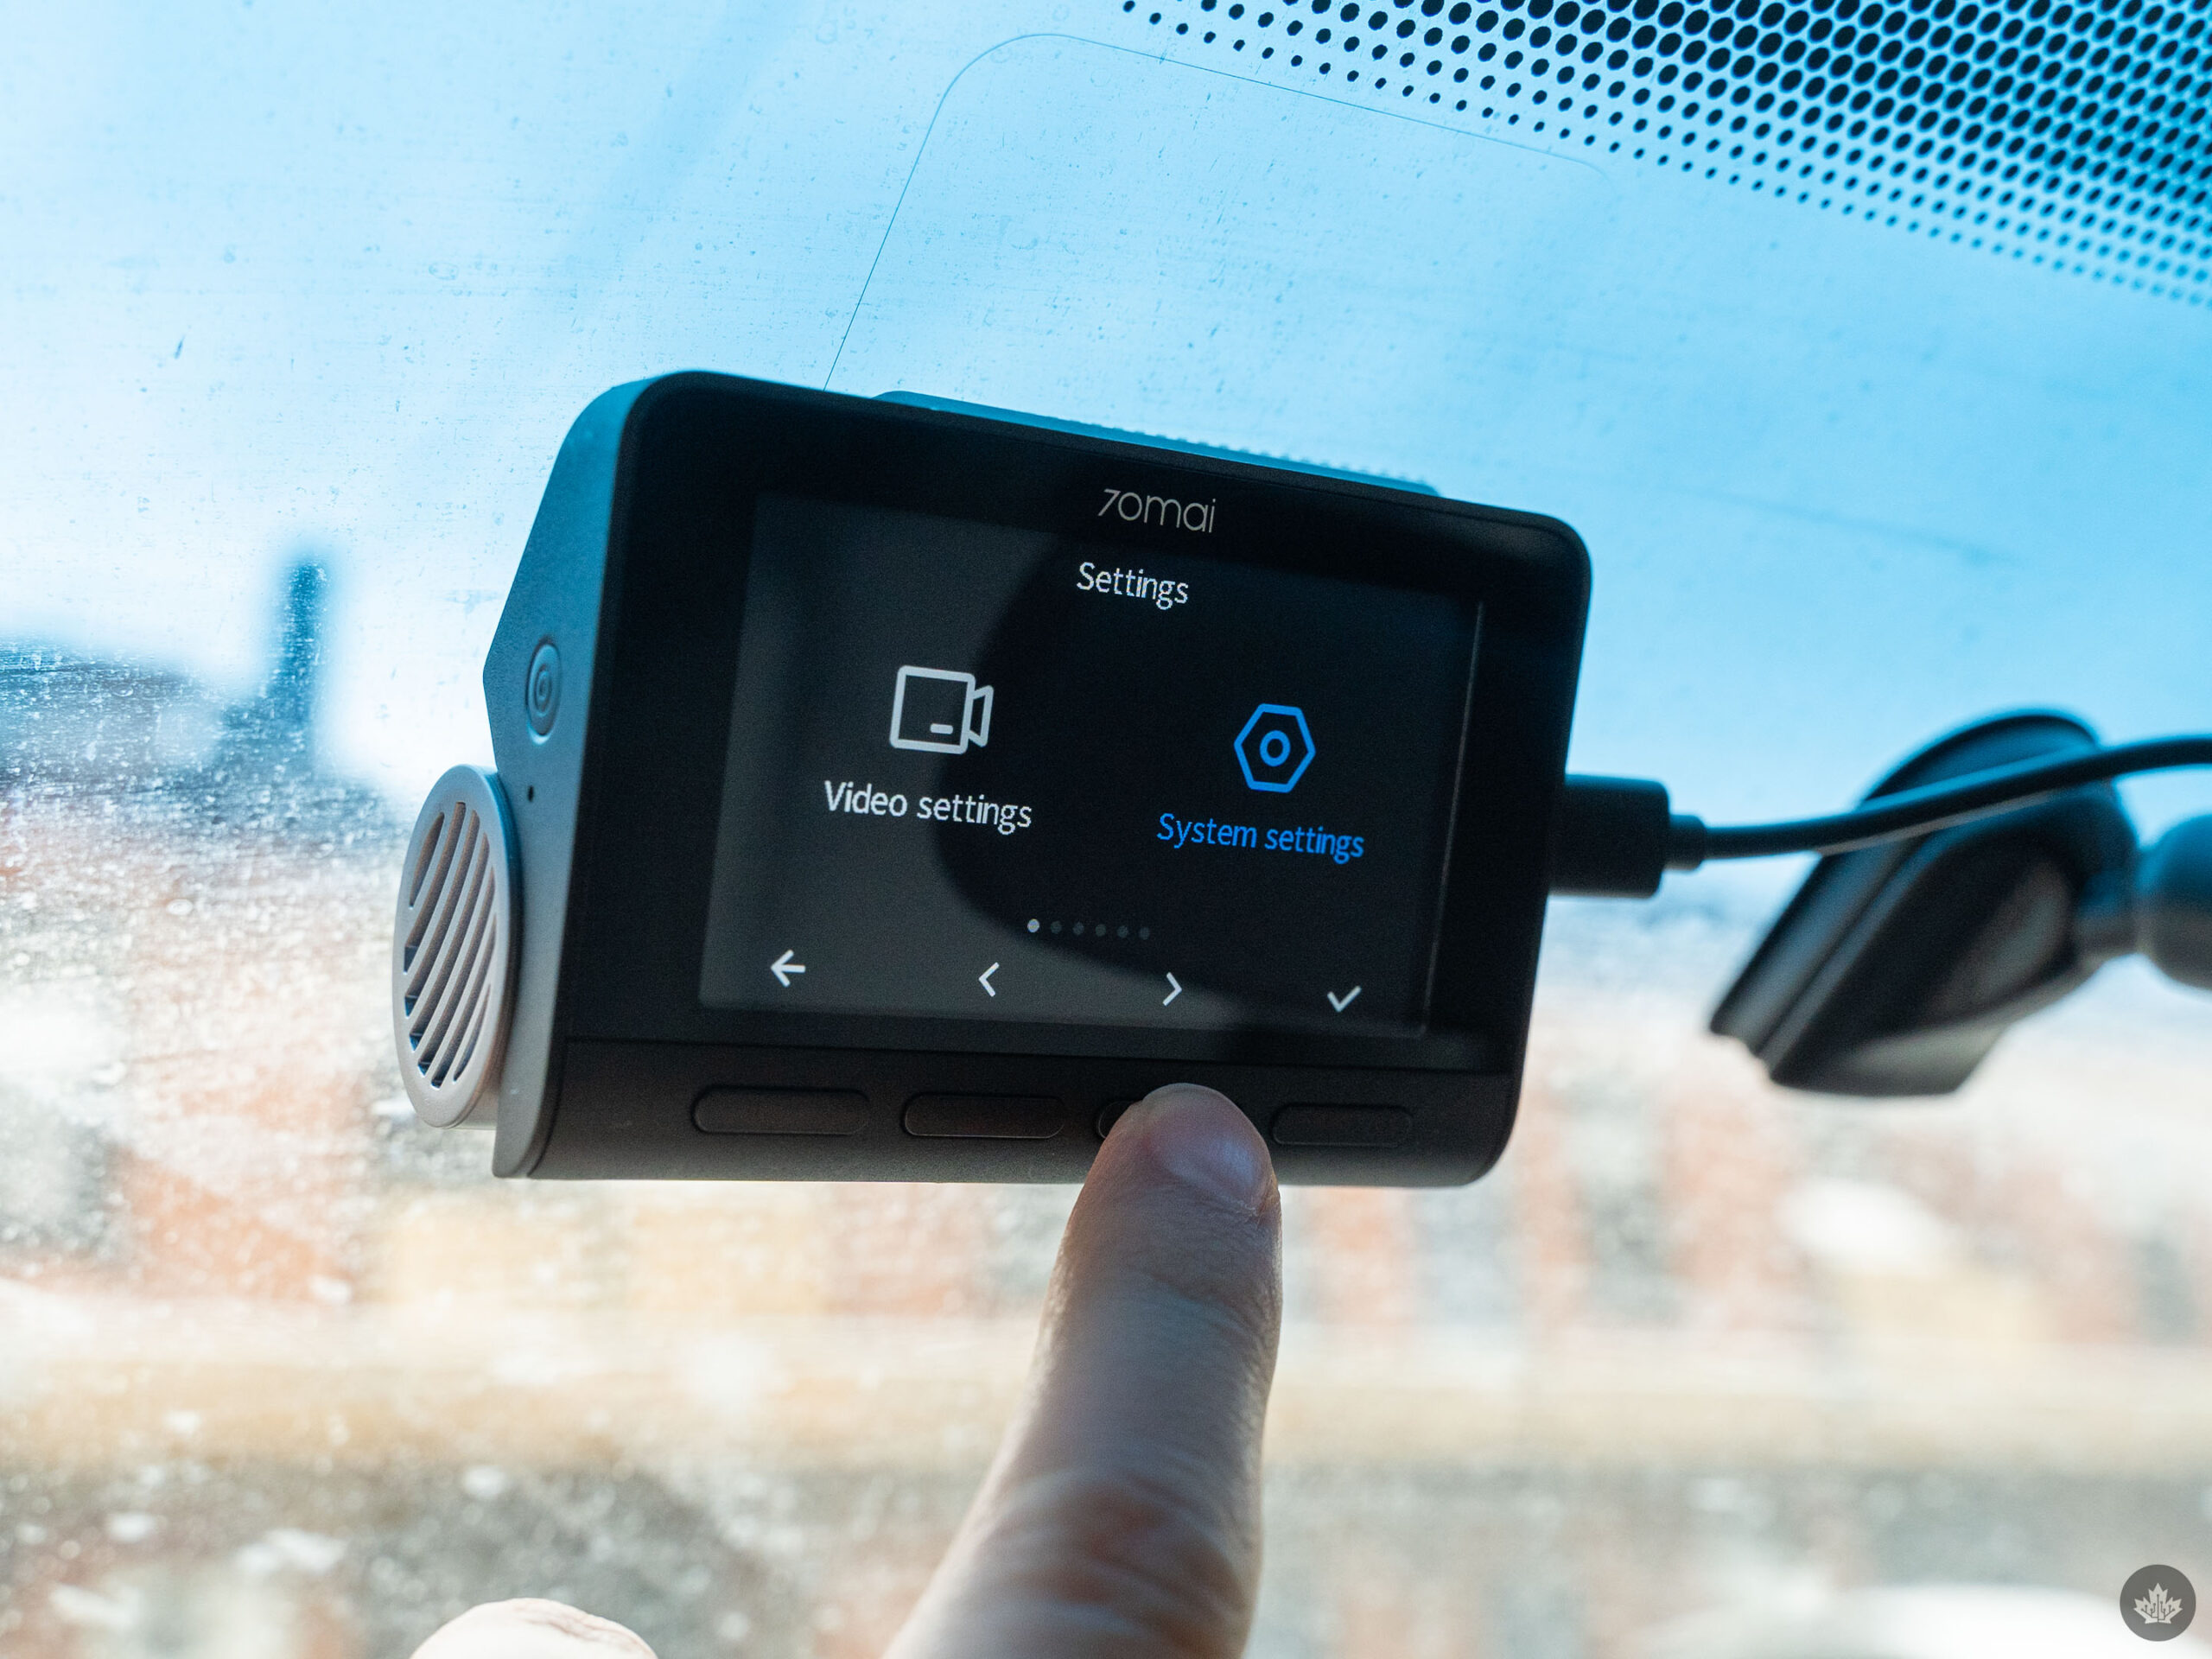
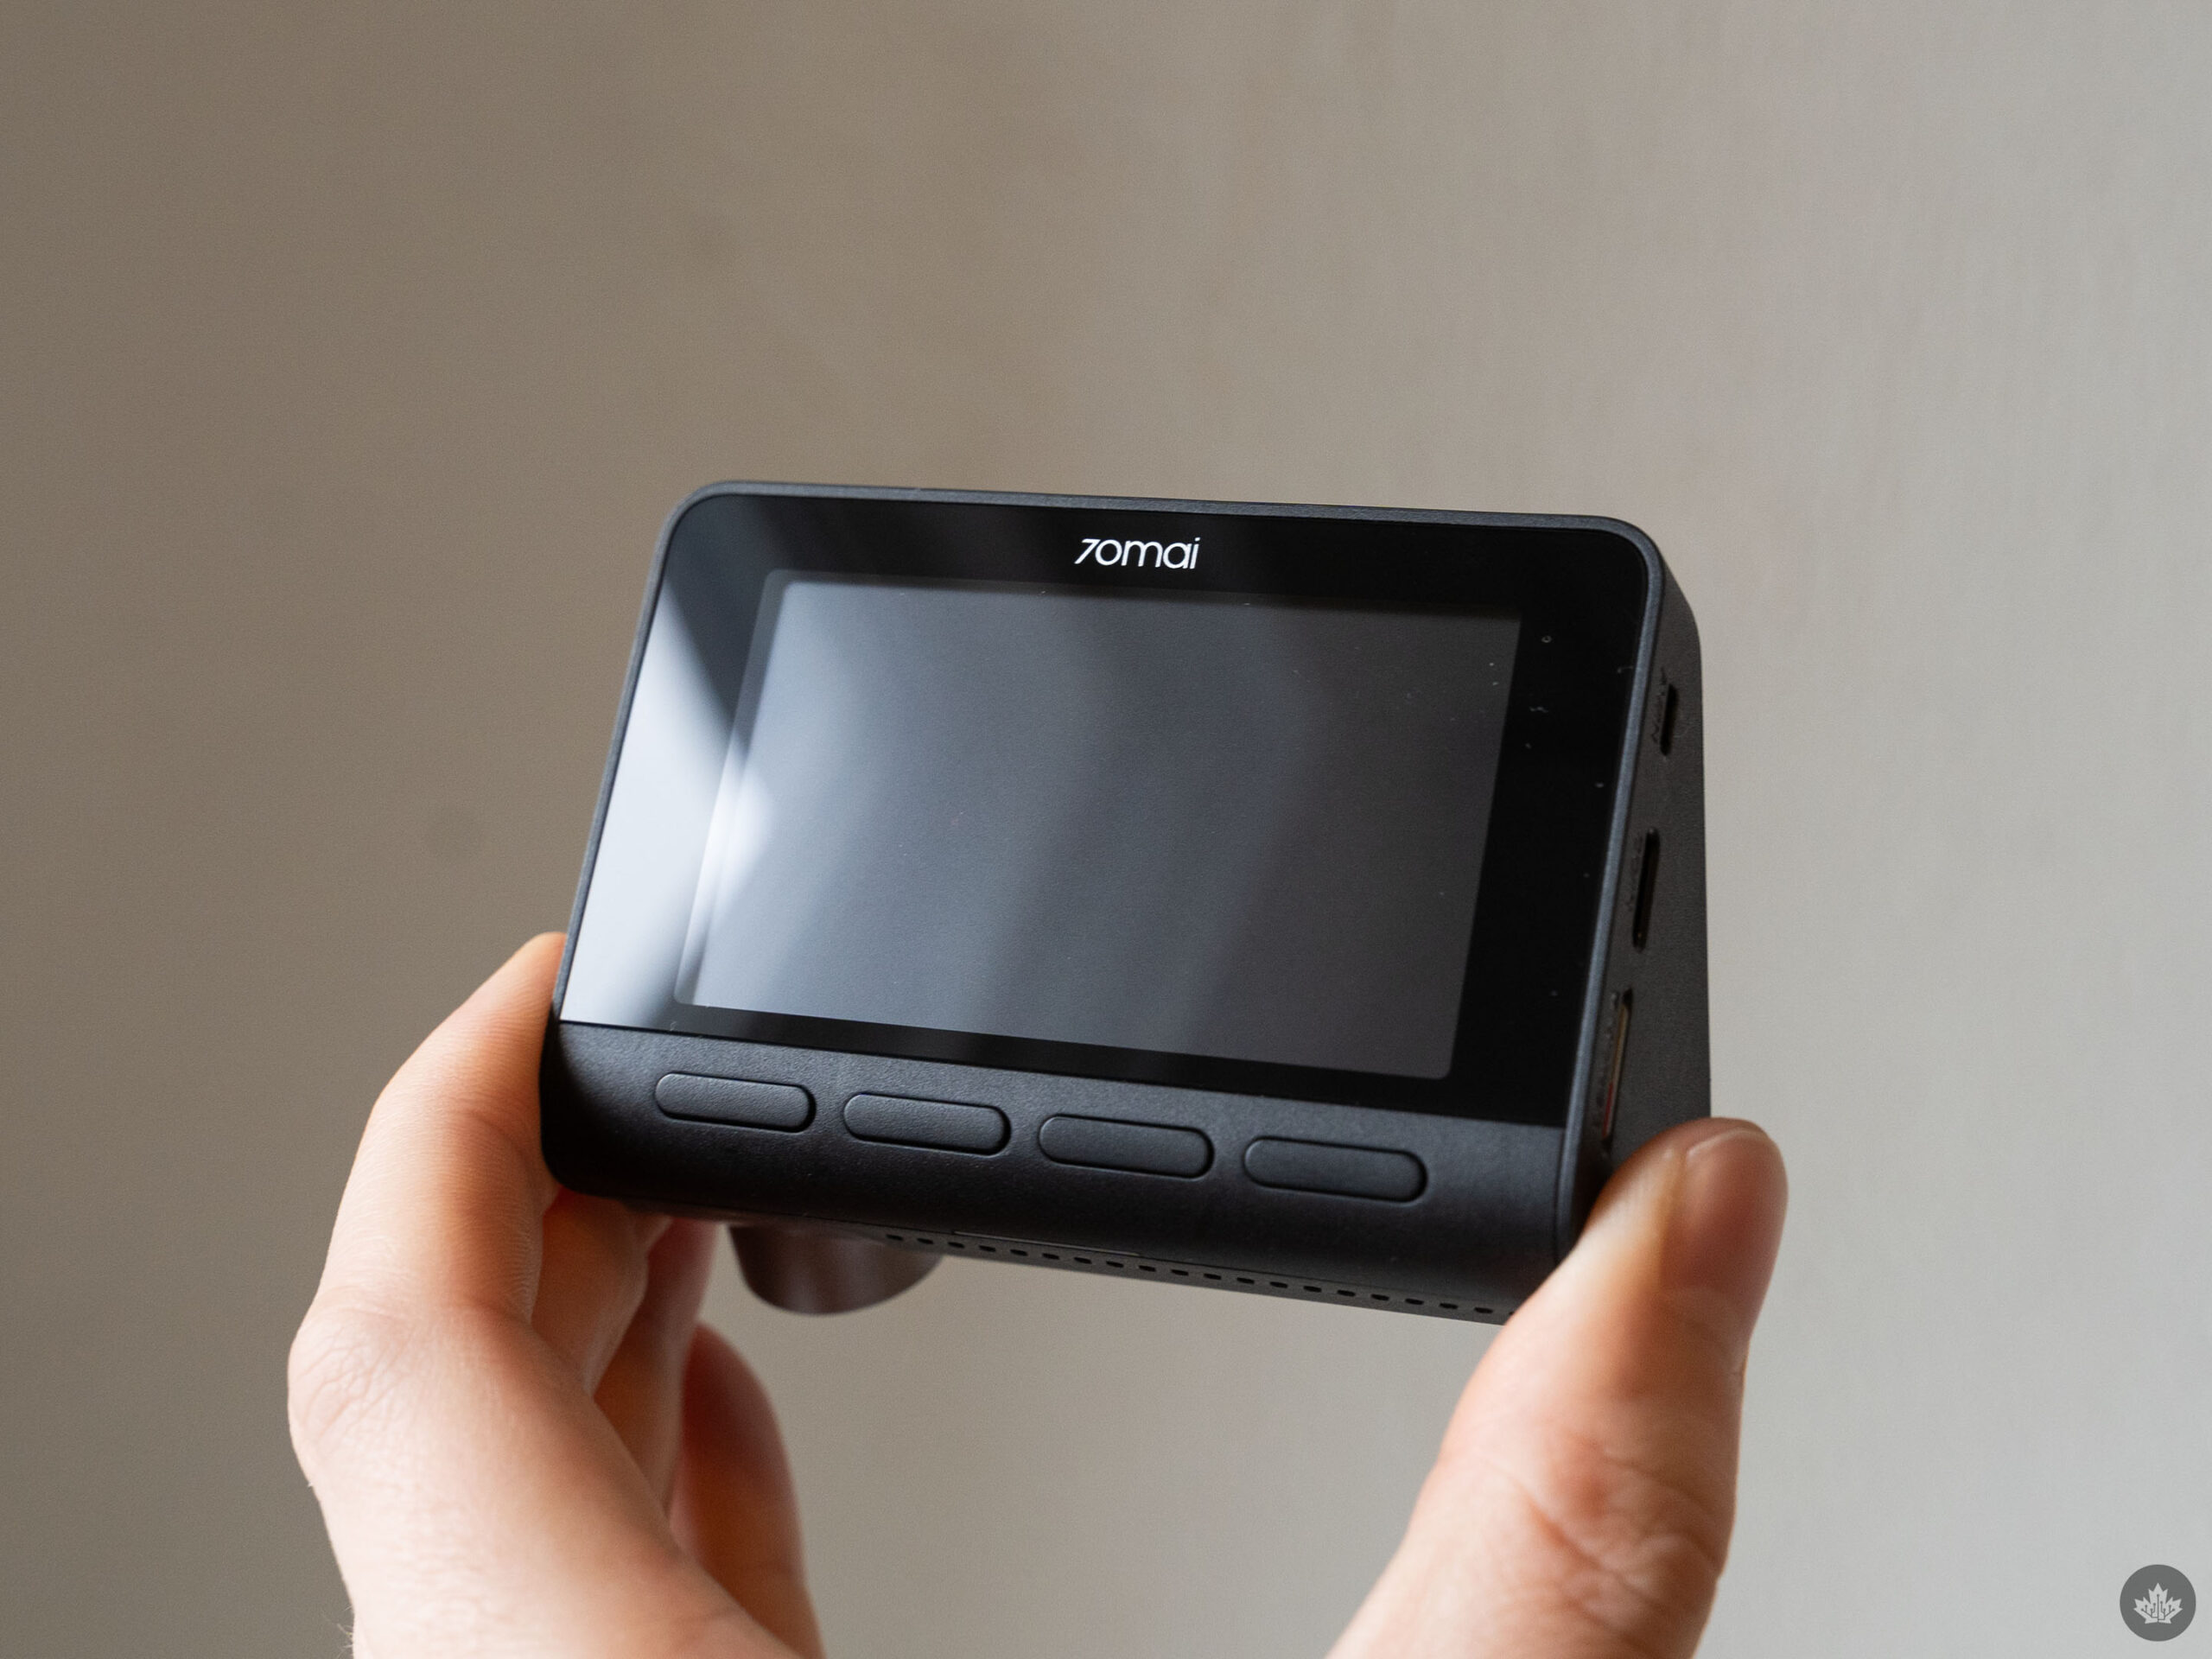
I’m also not a huge fan of the dashcam’s user interface. You can adjust various settings and parameters on the dashcam itself without connecting the app, but almost everything on the camera is controlled via four unlabelled buttons at the bottom of the screen. Typically, whatever is on the screen will indicate what the buttons do for that given screen, but it can be hard to remember which ones do what or which icons mean what.
Wrapping up
Ultimately, I came away from my experience using the A810 relatively impressed. I’m not sure this is the particular dashcam model I would buy if I were shopping for one now — my ideal one is a set-and-forget option that requires little to no thought on my end, and I think I could find a comparable but less expensive option out there. At the same time, the extra bells and whistles offered by the A810 are nice, and it’s a solid option if you’re looking to spend the money.
Regardless, the biggest benefit I got from using a dashcam was peace of mind. During my time testing the dashcam, my family moved from Whitby to Hamilton, Ontario, which meant lots of driving through Toronto on the 401. Having the dashcam running meant I was a little less worried about what might happen if there was an accident because I’d have footage of it. Whatever else a dashcam offers, it’s just a bonus to that.
In Canada, the 70mai A810 dashcam is available on Amazon and retails for $237.59, which includes the rear camera but no hardwire kit. You can also find it on the 70mai website available with various configurations priced in USD, including ones with the rear camera bundled, an included microSD card, and/or a bundled hardwire kit. Prices start at $149.99 USD (about $201.74 CAD) for just the A810 and range up to $219.98 USD (about $295.87 CAD) for a bundle with the A810, rear camera, hardwire kit and microSD card.
MobileSyrup utilizes affiliate partnerships. These partnerships do not influence our editorial content, though we may earn a commission on purchases made via these links, helping fund the journalism provided free on our website.
